
New Custom DIY Composing Studio Desk

Over the last year I have been building a new composing studio in my home and I finally made my dream custom standing desk.
I’ll get into the space and its development more in a different post, but for now we’ll focus on the desk.
A Standing Desk
At first I was planning on making the desk, with a keyboard drawer, on top of some new audio racks. I don’t have a ton of outboard gear, but I was thinking it would be nice to have a desk right over the interface and outboard gear and then add in some drawers for pens and stuff like that.
In the end, I was convinced by composer and friend Jeff Meegan to go for the standing desk, if for no other reason than the future…when my back will appreciate it. Honestly, my back already appreciates it. That’s why I invested in a fancy studio desk chair a few years back because I was feeling the pain of sitting all day…with bad posture.
But anyways, I looked into standing desk frames and my research led me to the conclusion that I need to build the desk top myself and attach it to the frame.
An important marker about this project and the entire home studio project is that this is not a recording studio. This is a composing studio with the goal of building a space that is comfortable and inspiring for creativity and working quickly. I wanted a desk that was ergonomic and functional in making music…easier.
Studio Desk Features:
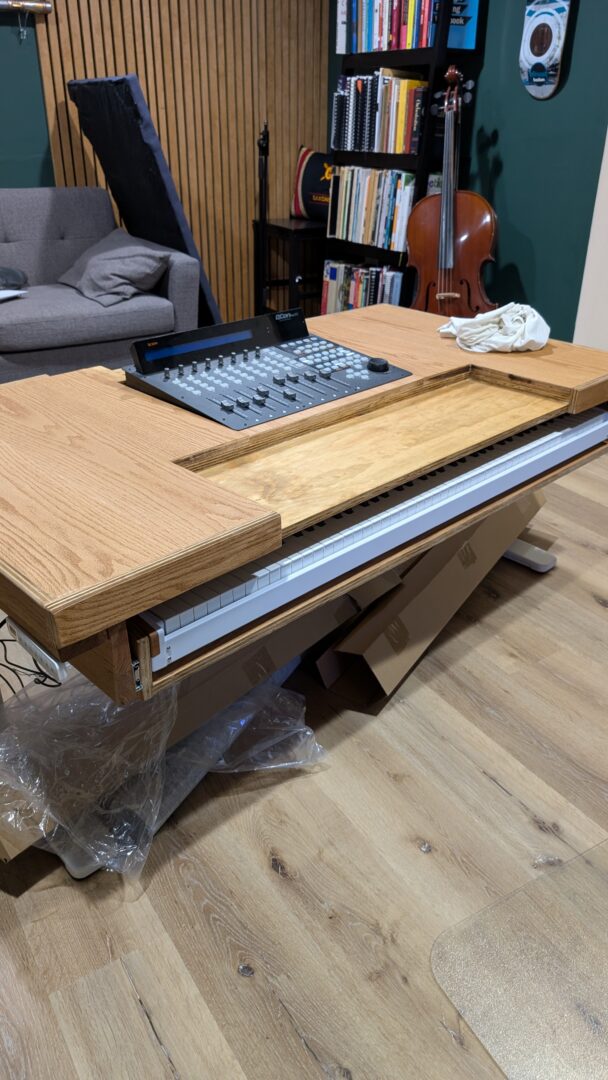
- 🎹 A sliding drawer for my Arturia Keylab-88
- 🎚️ I built in my Icon QconPro G2 mixer
- 🎛️ Space for my TouchOSC iPad
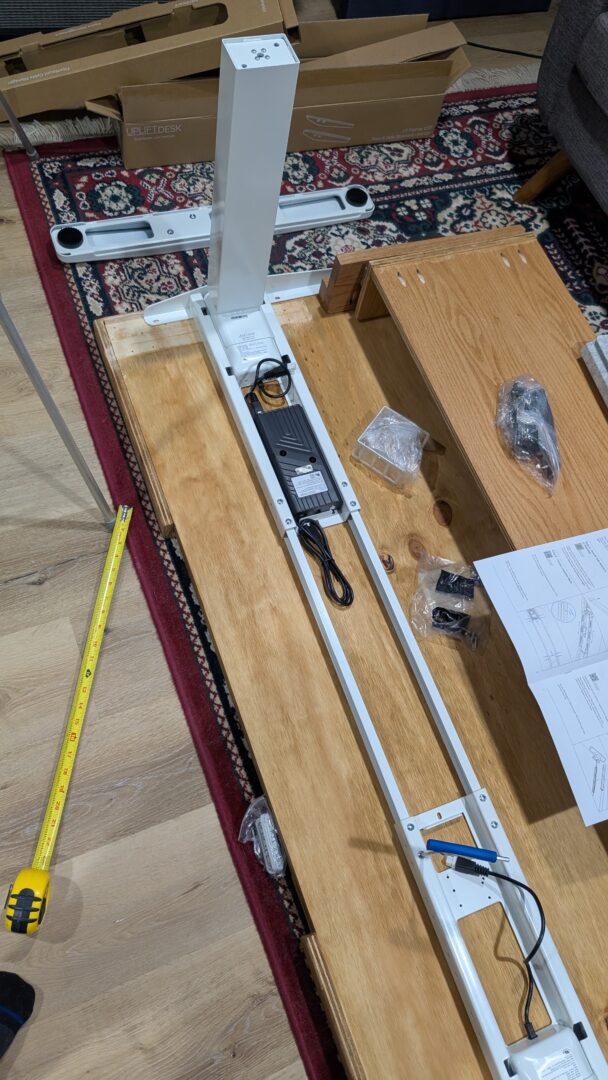
- 🏋️ Standing desk frame from Uplift Desk
- 🎼 Lots of space for holding a 12×18 or 11×17 full score
- I also wanted an inset space for my keyboard and mouse, so I added some faux leather along the sides.
Having a lot of space to open a score on the desk, or have all the monitors out…or also have my keyboard and my mixer out, it’s a dream come true.
How I Built This
Something I’ve seen in a lot of studio desks is a keyboard drawer for either a typing keyboard or a playing keyboard, then on top of the desk is space for the other. As I looked at these desks, there was no space for a mixer. So what I found was I could have a mixer, typing keyboard, or 88-key drawer, but not all three.
So that’s when I decided to go custom.
So the key sizing plans came from the pull out keyboard drawer for the Arturia keyboard. The keyboard is 51” wide, so I needed the desk to be even wider than that to support the drawer. The keyboard is actually pretty heavy, something like 25lbs. So I ended up going with a desk that was 62” wide.
Depth was also important. I wanted to in-set my Icon Qcon G2 digital mixer in the desk so that I could have it in front of me. In addition to the faders, there’s so many quality of life buttons that help with recording and just the whole process within a DAW.
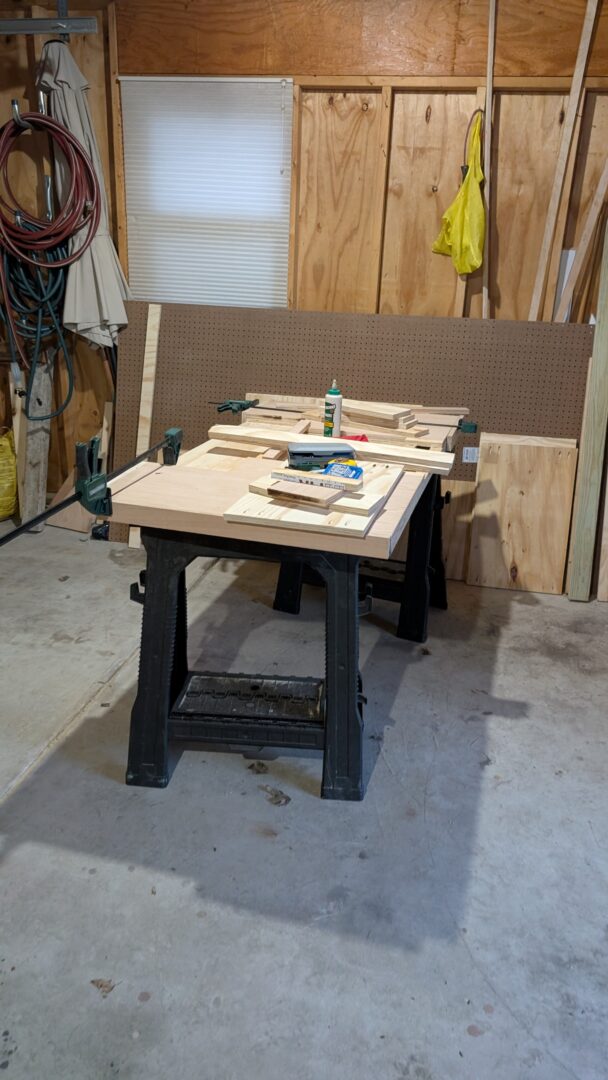
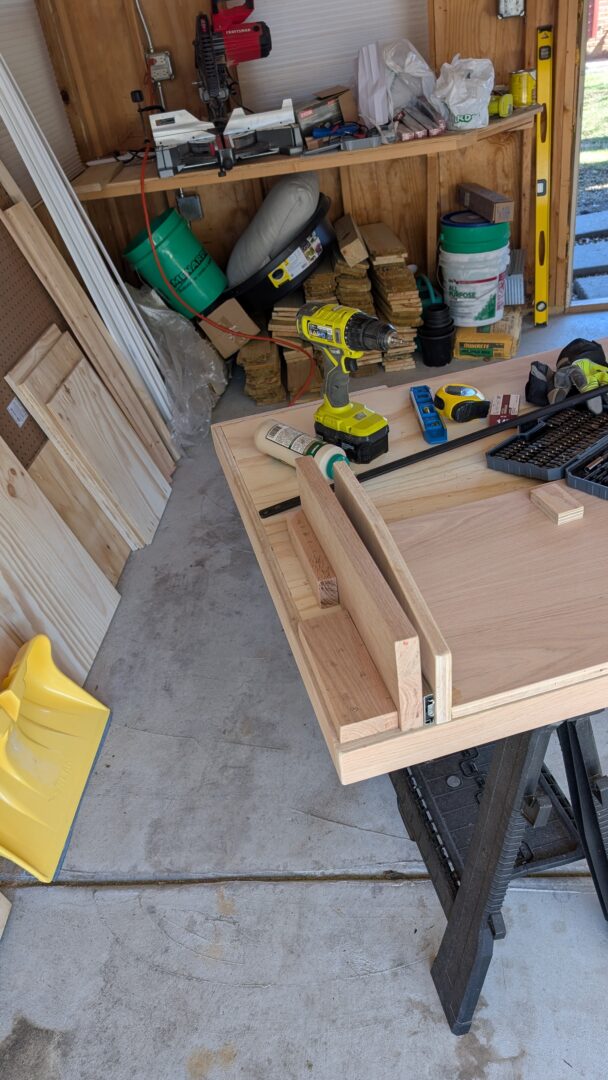
Then I needed a space for my typing keyboard…which is rather large. I have a specialty gaming keyboard that isn’t even made anymore. The Steel Series APEX is so old that the keys have completely faded off and I can’t see the W A S D keys. But this keyboard has a ton of extra function keys that can be set with hotkeys or macros. This is so useful to have these tactile buttons on the typing keyboard. There are buttons set for copy, paste, select all, italicize, bold…all sorts of things. I even have different color markers for Reaper hot-keyed in to extra keys above my function keys. This keyboard is rather large, so I needed space for it on the desk and building it lower than the mixer was key to making it fit.
To make the typing keyboard and mouse space a little more comfortable, I also added some faux leather around the sides of it and then at the bottom underneath it. The aesthetic fits the room, fits the green walls, and also fits the wooden styling of the other furniture I’m building (something I’ll talk about later).
Materials
If I had more money in life I would have used more solid wood instead of plywood, but maybe some other day…
But what I went with was three tiers of plywood. I used highest quality red oak for the top, quality ACX for the bottom and then some simple BCX for the inside supports. The desk top is actually pretty heavy with all three chunks of wood.
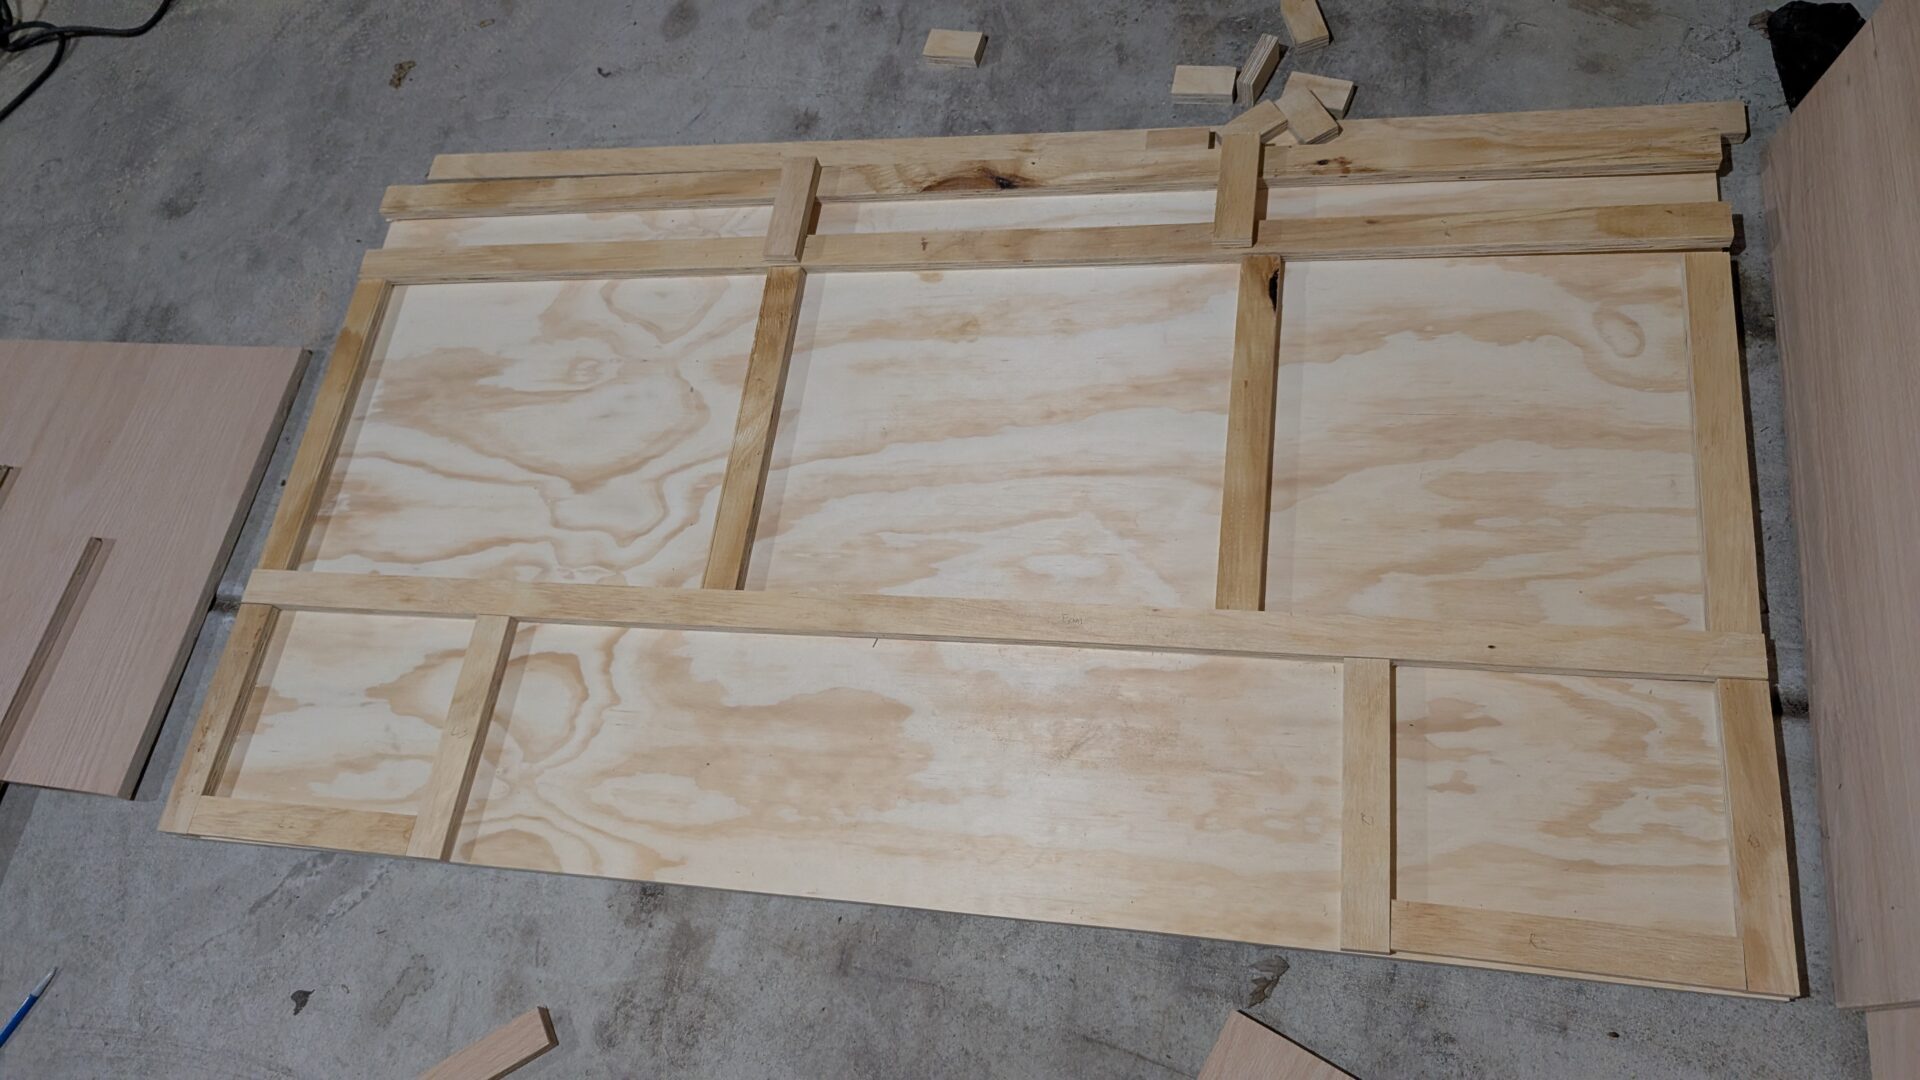
I also added some red oak pieces around the sides to make it a bit prettier.
The standing desk frame is from Uplift Desks. I did a lot of reading about standing desk frames and I liked their price, their reviews, and also the three stage hydraulic system. This frame can hold 300+ lbs and this desktop is nowhere near that…but it’s heavy…and it’s big. The total desk top is 32”x62” so I needed a frame that could really support that and Uplift Desks really offered what I needed.
The frame was around $500 and the materials were a few hundred dollars (lumber is really expensive right now). In total the desk probably cost me about $750 with the extra materials (screws, faux leather, drawer slides, etc.) that I picked up.
What I Learned
Standing is actually really nice.
I really enjoy being able to take video calls standing and also just be able to stand during mixing, listening back, or just watching a playback. The monitors cover the speakers when it’s in standing mode, so it’s not perfect, but if I need to “seriously” mix, I can just sit back down. It’s better for my back, my posture…and apparently my sanity.
The hardest part of this whole project was space. Every time I build something I have to put away the tools and lumber at the end of the day. I don’t have a workshop (or space), so it’s all a bit of work to take out and put away. I also was building this in sub-zero Chicago weather…so that was fun in the garage.
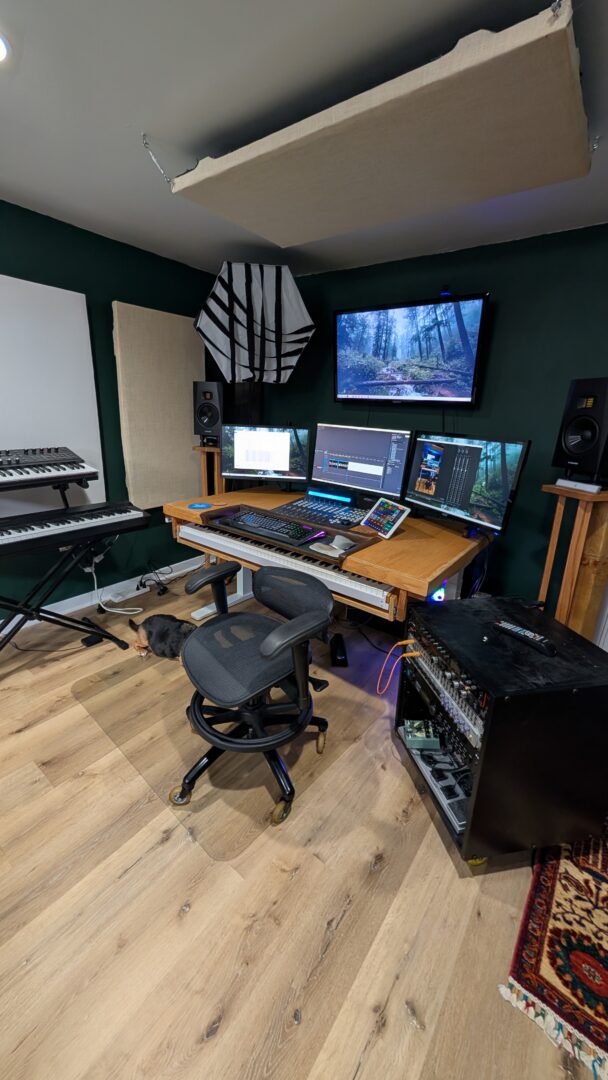
This was certainly a labor of love and I’m really proud to have this custom desk that fits my life and workflow. It’s not perfect as I’m not a professional woodworker and I was working with plywood, but it works and that’s what is important.
The desk is made you can see here: